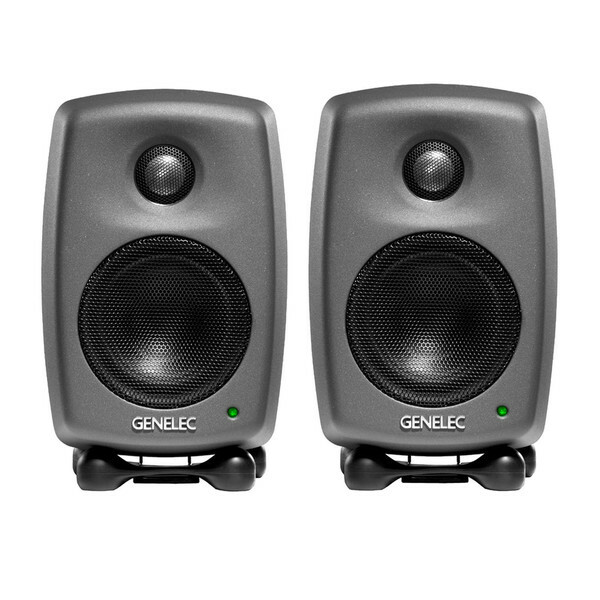
Monitor Speakers for a Home Recording Studio
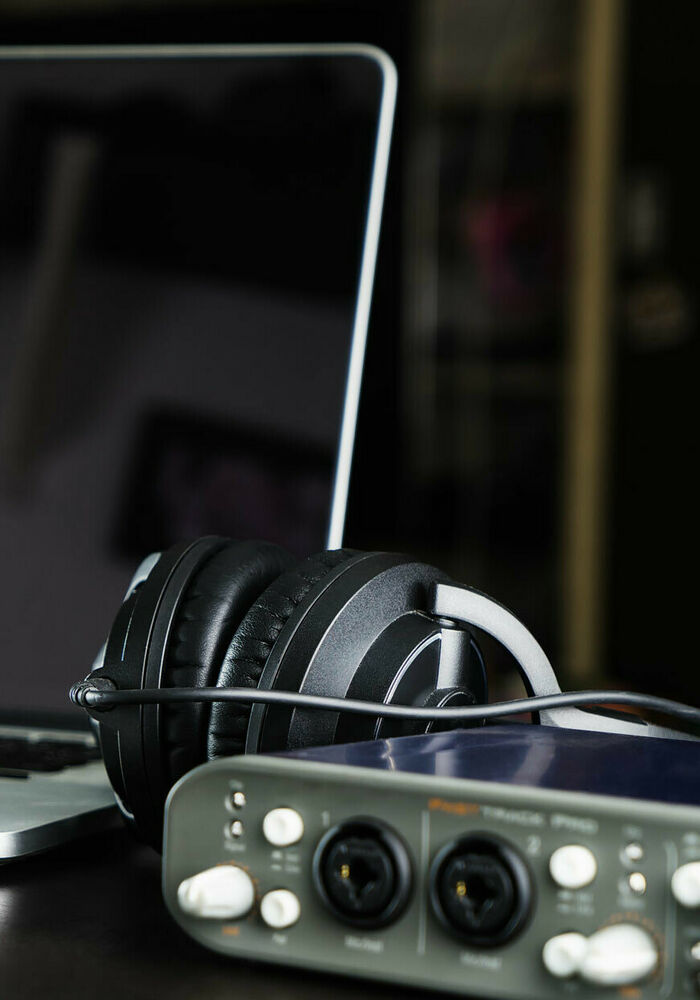
If your home recording studio budget is particularly limited for equipment at first, it is possible to get by initially with just headphones. In fact, some musicians and producers simply prefer working with headphones anyway.
It's important to note that if you are working with someone else in the studio, they will also need a pair of headphones to be able to hear, and it will be a pain to have to pause the track and remove your headphones every single time someone wants to give feedback on the song you’re working on.
With all that said, mixing and producing is largely and traditionally done using speakers. And note the wording of ‘monitor’ speakers — a cheap pair of laptop speakers are not going to cut it in the world of music production.
Studio monitor speakers have what’s known as a ‘flat response’, which makes them ideal for mixing. Whereas regular hi-fi speakers colour the sound, which is not what you want. Purpose-designed studio monitors give you more accurate feedback on your mix so that you can create a final mix that will translate well across a broad spectrum of playback systems, from high-end hi-fi to affordable earbuds.
It goes without saying that good monitor speakers can’t be bought at the price point of certain microphones and headphones – we are venturing into the slightly pricier territory. On the affordable range of the spectrum, three pairs come highly recommended by Headliner:
-
Genelec 8010A
-
JBL 3 Series MKII
-
Yamaha HS5
Cables - Hooking up Your New Recording gear
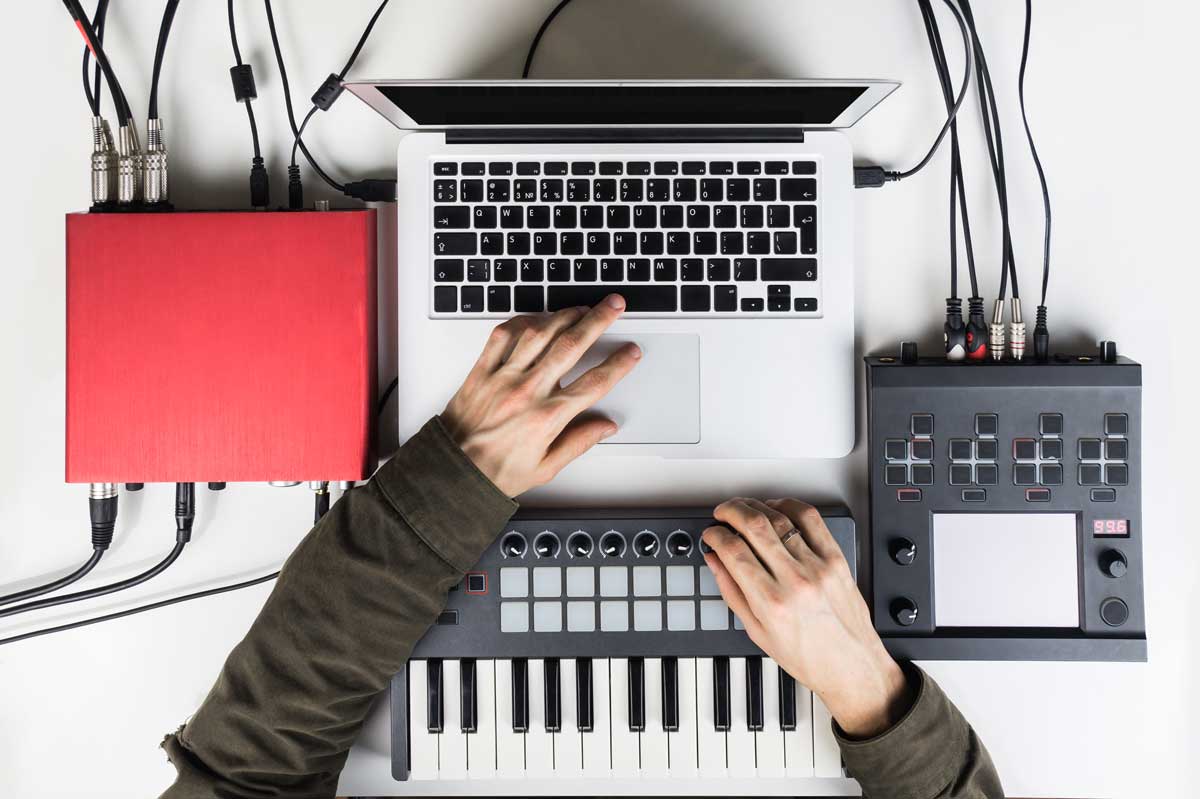
A home recording studio setup will not get you far at all if you don’t connect your equipment together. This is where cables come into play.
Understandably, it’s often when it comes to connecting these specialist cables that would-be studio musicians get the most daunted. But fear not, because you only need three at this stage, and the actual plugging in is very easy.
All you need for the above is:
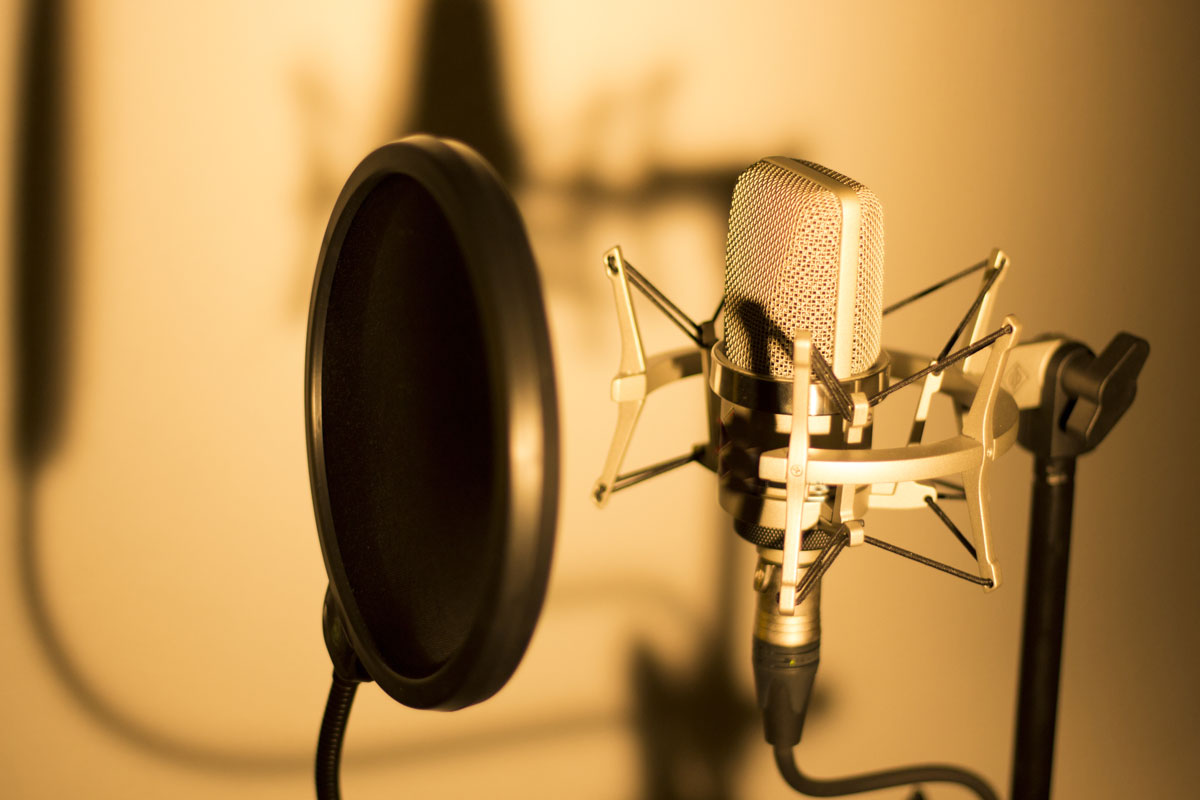
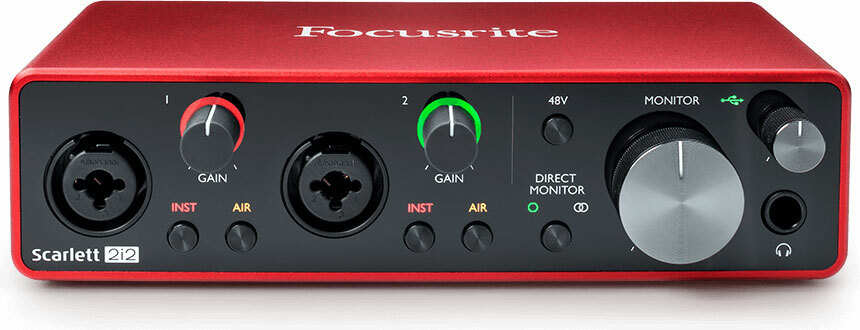
One long XLR cable to connect your microphone to your audio interface.
Two short XLR (or balanced TRS cables) to connect your monitors to your interface.
One bonus thing to consider, albeit not immediately, is acoustically treating your room. Once you’re settled with your setup, you will eventually want to consider this as it makes a huge difference on the results of your recordings. Once you’re ready, check out our piece on the acoustic treatment of our own recording studio.
Home Recording Studio Setup: The Bottom Line
After reading this guide, you’ll undoubtedly feel more at ease with the process of creating your home recording studio setup.
Once you have a better idea of the equipment, it really isn’t that daunting after all. Go with the ‘less is more’ approach initially, and you will both avoid overwhelm and learn to get brilliant results with a humble setup.
Best of all, there’s no need to decimate your bank account. Godspeed with your setup and music creations!
