Subscribe
Home Recording

How to Record Electric Guitars Like A Pro

Getting a professional result when recording electric guitars doesn't have to be rocket science. Thanks to today's home recording gear, anyone can achieve a studio-quality result without breaking the bank.

In fact, as a bare minimum, all you need is a good quality USB audio interface, and you can get started with professional results right away.

Your recording quality can improve significantly with the addition of a good quality guitar cab and the right microphone technique, but you'd be surprised how realistic modern software amps can sound.

In the following guide, we'll lay down the fundamentals and walk you through the entire process to ensure your recordings hit the spot.

Always Start at the Source - Setting Up Your Guitar For Success

Recording electric guitars is a very different process from capturing the more organic tones of an acoustic guitar. However, in both cases, your final result can only be as good as the source you record.

Far too many home recordings suffer from a poorly configured sound source, and while modern recording software is extremely powerful, no amount of mixing prowess will make up for an out-of-tune guitar or old, dull-sounding strings.

Before reaching for the big red recording button, take the time to ensure your guitar is in top working order.

Old strings and poor intonation are the most common culprits in ruining otherwise perfect performances. Firstly, change your strings the night before the recording session so they're nice and fresh but still have time to settle in. Secondly, ensure that you check the setup and intonation of the guitar to avoid dissonance across the fretboard.

It's worth consulting with a guitar setup specialist if you're not comfortable with the basic principles of guitar maintenance. If you own a budget guitar, you might also consider hiring a better model for the recording session.

Remember, this is your chance to get those songs you've had rattling around your head down on record. You don't want to spoil the moment by using an inappropriate tool for the job. They say a bad workman always blames his tools, but that only really goes so far.

Amplifiers & Getting Your Tone Right

When choosing the right amplifier, consider going small to sound big. 100 Watt stack amps might have great stage presence, but when it comes to studio recording, such a large amount of power simply isn't required.

Ask a professional studio engineer, and they will undoubtedly state a preference toward small combo amps when it comes to recording electric guitars.

You'll find it much easier to get a great tone when using a small, low-wattage combo amp with only one speaker cone than with a huge 100-watt stack amp and 4x12 speaker cabinet.

Valve amps, in particular, sound best when driven hard. A nice low-wattage combo will allow you to drive the amp nice and hot without exceeding volume levels that are either unsocial or impractical in the studio or at home.

In other words, a small 15-watt valve amp with the master volume pushed high, and the input gain set to moderate levels will sound bigger than a very saturated pre-amp distortion driving a stack amp with the master volume set low. Running an amp like this tends to produce a thin 'fizzy' tone that's pretty much impossible to work within the mix.

Microphone Technique for Electric Guitar

The best mic technique will depend on the desired sound and your microphone selection. In the end, there are no real right or wrong answers here, simply desired outcomes and results. In other words, if it sounds good, it is good.

Saying that, there are a few general guidelines that make a great starting point from which you can experiment further until you achieve the sound you like.

Dynamic Microphones for Electric Guitar

By far the most common approach is to close-mic the amp using a dynamic microphone. Dynamic mics are affordable, can handle very high sound pressure level, and produce great results thanks to their soild, warm sound and smooth top end.

If you'd like a little more bottom-end, a large-diaphragm dynamic mic will help increase the frequency response.

Most home studios use a dynamic mic to capture guitars because they are extremely cost-effective. The happy coincidence is they're also heavily used in professional recording applications, so you'll be in very capable hands.

Start by placing the mic 1cm-to-3cm away from the grille, pointing halfway between the centre and edge of the cabinet speaker. From here, you can make small adjustments until it sounds just right.

Moving closer to the centre will capture brighter tones, while moving toward the edge with make the recording sound mellow and warm.

If your dynamic microphone is directional (in that the pickup pattern is cardiod or super-cardioid) you'll need to take proximity effect into account.

What is the Proximity Effect?

The proximity effect is a phenomenon that leads to an increase in low-frequency response as you move the mic closer to any given sound source. Proximity is a trade-off for directionality and does not occur in omnidirectional microphones.

Within the context of your actual mix, too much low-end could conflict with your bass guitar and kick drum, so while the proximity effect can be used to your advantage under the right conditions, you should always do so with the bigger picture in mind.

For most recordings, you'll likely find the best results are found when you back away from the grille slightly. Pulling the mic away will also result in a more accurate representation of the overall tone in the room, meaning that you will capture more 'ambience'. Deciding on the best placement for you will require some degree of experimentation and the application of personal taste.

Recording Electric Guitars with a Condenser Microphone

Condenser mics are significantly more sensitive and have a far wider frequency response than dynamic microphones. If a more detailed, organic, and roomy sound is your thing, they could offer significant advantages over their dynamic cousins.

If your condenser microphone has an attenuation pad, you may find you can still experiment with close micing techniques in much the same way as a dynamic mic. However, without an attenuation pad, you might also find loud amplifiers overload the microphone circuit.

In most cases, a condenser mic will benefit from a little more distance. Anything up to 50cm (20 inches) can work, but keep in mind that the further you are from any given sound source, the more room ambience you'll start to introduce.

Grab yourself a decent set of studio headphones and adjust the position and distance until you reach a desirable tone for your taste and genre. Small adjustments are key, and patience will be rewarded. Every guitar, amp and space is different.

Lastly, concerning condenser microphones, high SPL levels can play havoc with your recording headroom, so make sure to experiment with low-frequency roll-off switches combined with attenuation pads if your microphone has one or both.

A great recording should sound 50% there from the start. If we take our time with microphone selection and placement, we'll save ourselves a huge headache during the mixing process. Any attempt to 'fix it in the mix' will likely produce a subpar result.

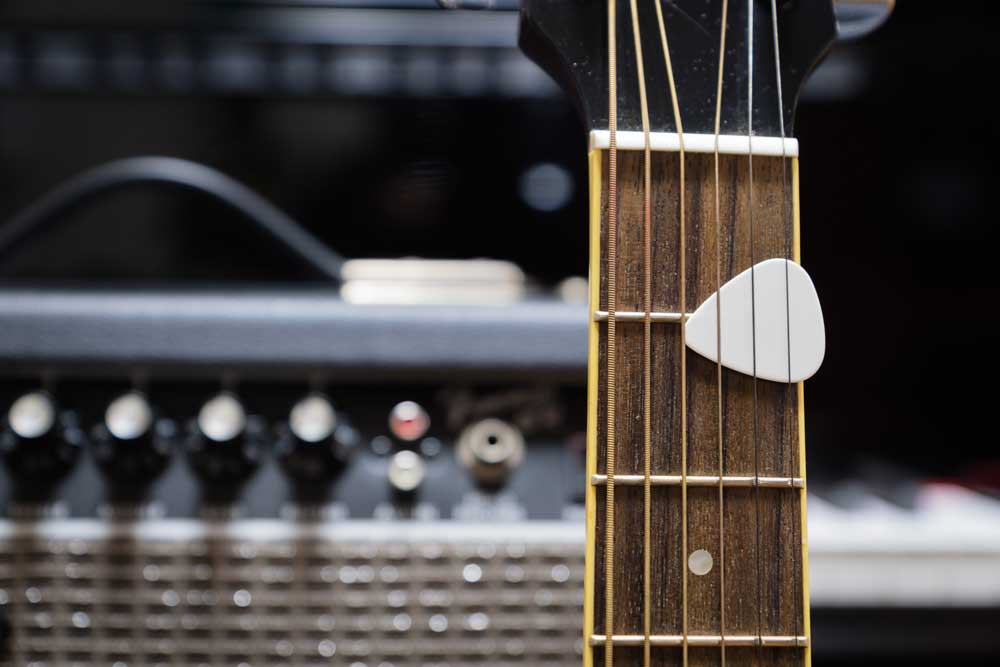
Dual Microphone Techniques for Electric Guitar

Using two microphones at once will open up your options and deliver a wider breadth of tone.

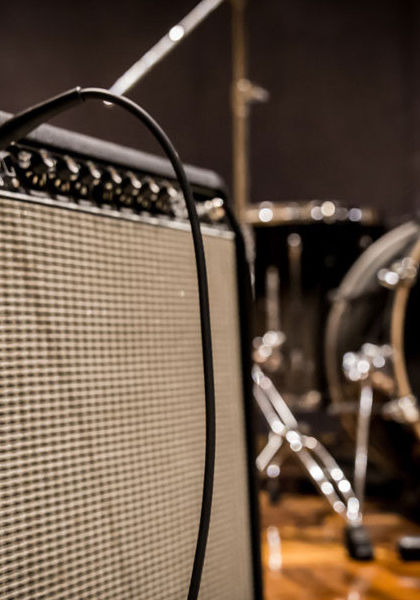
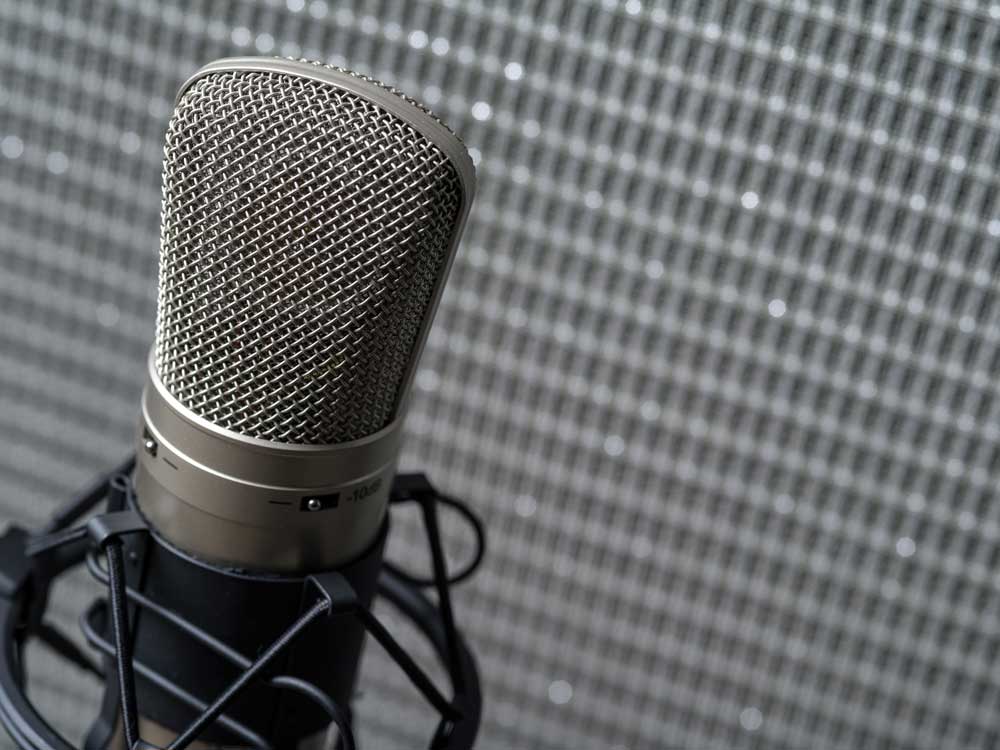
The first approach is to use two very different sounding microphones, placing them as close together as possible to minimise phase problems. You now have two mics to choose from during the mixing process, or you can blend the two until you achieve the desired sound.

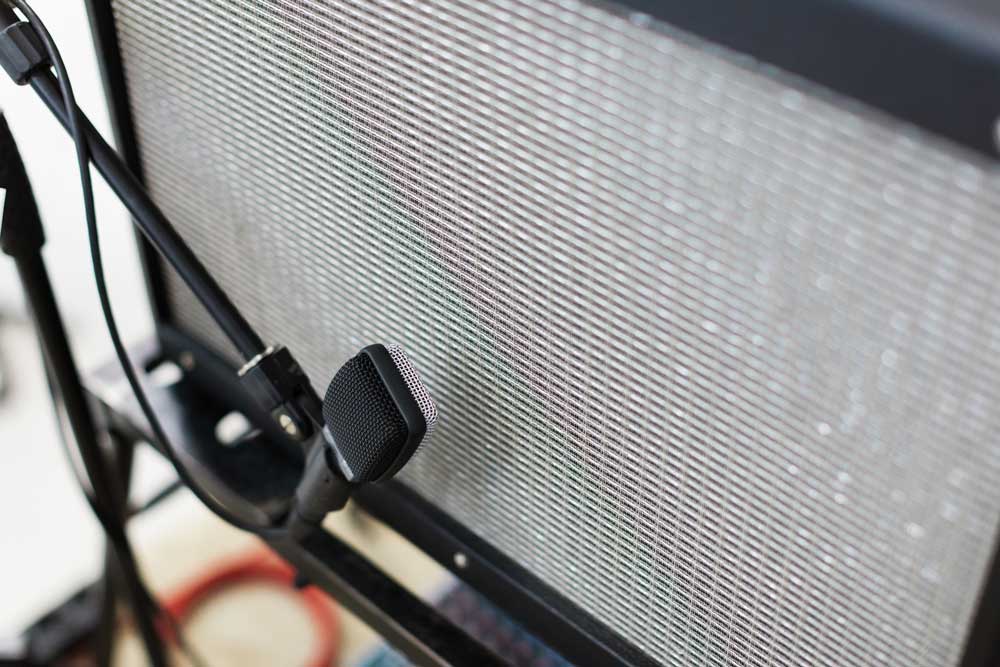
Another dual-mic approach involves placing one mic close to the amp and another at a distance while paying close attention to the phase relationship between each mic.

The initial misconception from many home recording enthusiasts is that more mics will produce a 'thicker' or 'richer' sound. If phase cancellation occurs, the exact opposite is true, and the sound can become weak or thin.

The science of phase cancellation goes beyond the scope of this article, but in simple terms. If the sound reaching our second microphone is 'out of phase' with our first microphone, then frequencies will clash and cancel each other out, resulting in a loss of tonal quality.

The more microphones you use at once, the more phase issues you'll experience.

Use The 3:1 Rule & Minimise Phase Cancellation

As a good rule of thumb, the 3:1 rule is a great starting point when attempting to avoid phase issues. The rule states that your second mic should be exactly three times further away from the sound source as the first mic. So, for example, if the first mic is one inch from the speaker cabinet, then our second mic should be three inches away.

Use your ears and make small adjustments if you notice the sound becoming thin. We can use the phase inversion function in many DAW packages to flip the phase on one channel and hopefully improve the result if you still notice issues after recording. There are also some phase alignment plug-ins that can help.

Consider Using Amp Modulation

If you arrived here seeking how to record electric guitar without a microphone, this is your answer:

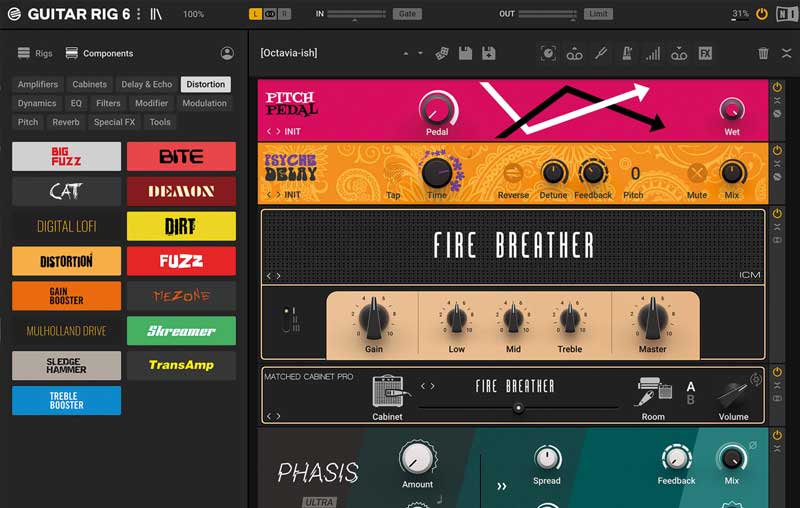
Amp modulation software has come on in leaps and bounds over the last decade, to the point where bundled versions included in DAW recording packages, such as Logic, sound very convincing indeed!

(If you have a little extra money to spare, then I'd also highly recommend checking out Guitar Rig 6 Pro, which comes as part of the Native Instruments Komplete 13 plugin bundle).

Not everyone is lucky enough to own a great sounding valve amp. Plus, there's always our neighbours to consider. If your budget or living circumstances prevent you from cracking that lovely boutique amp up to 11, you rest in the knowledge that all is not lost.

Using a good quality DI (direct input) box, you can easily send a completely dry, line-level signal to your audio interface while still sending the instrument-level signal to your amp. Should the desire strike, you can have the best of both worlds or simply use the amplifier to retain the feel while tracking.

Re-Amping Guitars As the Ultimate Fail-safe

Another benefit of recording a dry DI signal is the option to 're-amp' the recording after playback. Should we decide we're not happy with our mic'd amp sound after the initial recording, a secondary DI signal allows us the option to send the record back out to an amplifier and try again.

You'll need a re-amp box to convert the signal back from the hotter line-level signal to the instrument level signal expected by the amplifier.

Summing Up

Capturing a studio-quality electric guitar tone is a very subjective process, and there's certainly more than one route to achieving great results.

I cannot stress enough how important it is to get the source right; don't skimp over the details, take your time, and trust your ears. Sure, there are some basic rules and a few minor lessons in physics that can aid in your decision making, but it's the final result that matters and how it fits within the context of your overall recording.

If we take our time and do our due diligence, the mixing process should be a case of putting the icing on the cake instead of applying studio trickery.