Subscribe
Home Recording

How to Record Vocals at Home - Studio Quality Results Made Simple

The tonal complexity and sheer variation of styles make vocals one of the most challenging instruments to capture in a recording studio.

Every voice is different, every delivery unique. Thanks to modern sampling and synthesis, we've successfully managed to re-create man-made instruments, such as piano, strings, or drums, but achieving the same convincing results for the diversity of a human voice is another challenge altogether.

When it comes to a realistic human vocal, there's still nothing quite like the real thing. Vocals tend to sit at the front of your composition, and so achieving a professional sound is non-negotiable if you want your production to succeed.

In the following guide, we'll walk you through the process of how to record vocals for a wide variety of styles. Along the way, you'll learn how to achieve studio-quality results on a budget.

How To Record Good Vocals - Always Warm Up Your Voice

If your vocalist isn't up to scratch, your recordings will fall at the first hurdle. Whether or not a person can 'sing' is a very subjective topic. Still, regardless of ability, all vocalists can improve their performance with some basic warm-up exercises before the recording session.

Start by ensuring good posture. Slouching in a chair will restrict vocal ability. We don't want to restrict airflow or muscle performance, so keep your head up and shoulders back.

You can start to relax muscles and get the lungs going with some basic breathing exercises. Lots of deep breaths are a great way to start before performing some warm-up routines.

Even just a few basic 'Ah' sounds and lip trills (a bit like blowing raspberries) will elevate your performance compared with jumping in cold and hoping for the best. Check YouTube for a wide range of advice on warming up before recording vocals to get you started. Doing something is invariably better than nothing.

You can help yourself further by making wise choices in the days leading up to your recording session. Drink plenty of room temperature water or warm herbal tea. Avoid excessive amounts of caffeine or alcohol.
Consider The Room Acoustics

The sound of your recording environment is the next most important consideration - particularly when learning how to record vocals at home.

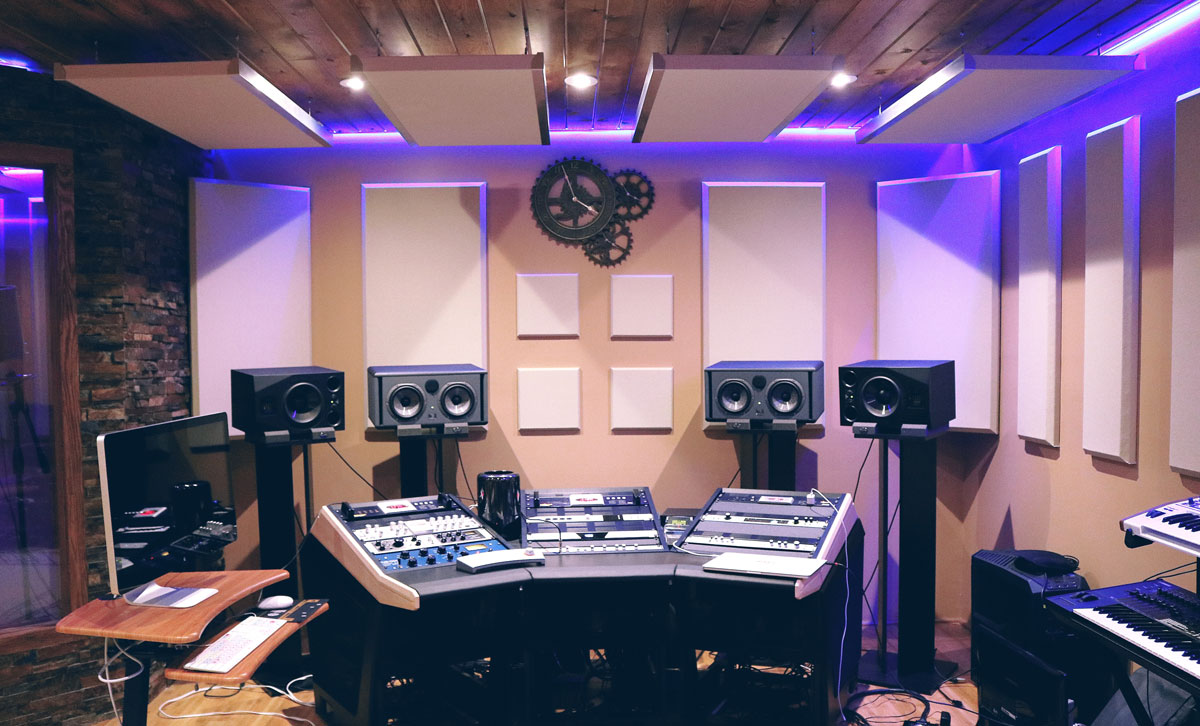
If you're lucky enough to have a dedicated recording space or home recording studio, consider treating your room with acoustic panels to control primary reflections and flutter echo while also helping to reduce standing waves and excessive bass.

Room acoustics is a whole topic in its own right. For this article, we'll stick to the basics. Home or project studio environments will benefit from installing one of the several DIY kits available on the market. There are different-sized acoustic treatment kits available depending on your room size.

You will find it much easier to place your vocal in a mix if you control room reflections and then add reverberation further down the line. Once the sound of a room is captured in the recording, it's basically impossible to go back, so most studios will aim to capture a reasonably neutral, dry sound, and use reverb or delay during the mix to add space and atmosphere.

Room Acoustics On A Budget

If installing acoustic panels is not an option, you can apply a few home studio hacks instead.

1 - Hang a duvet behind the vocalist

O.K, so it doesn't look pretty, but it's an old trick that can make recording a hit recording on a shoestring possible. The aim here is to increase the amount of direct sound captured by the microphone and reduce room reflections.

This approach works best when using a microphone set to a directional polar pattern, such as cardioid, for example. More on this later.


2 - Use a Reflection Filter

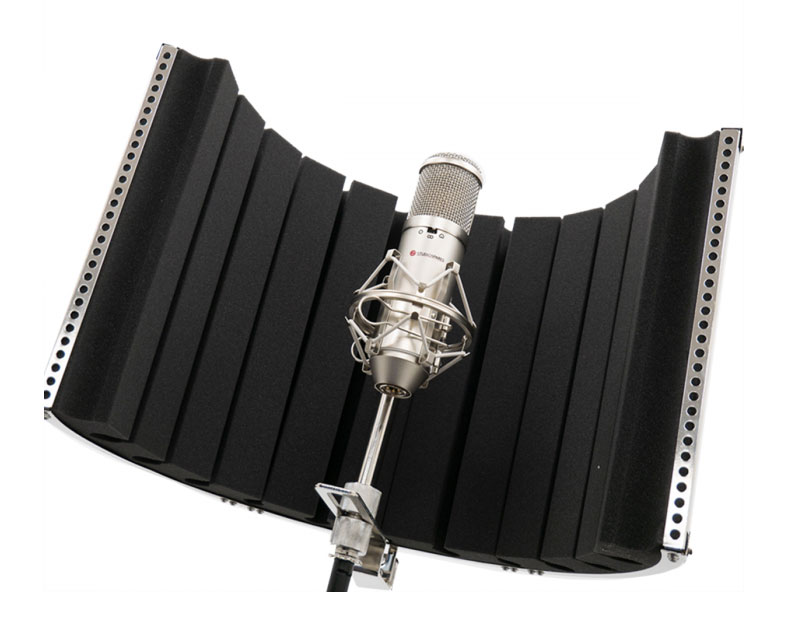
Reflection filters act like miniature, portable vocal booths. They're highly affordable, with most models coming in at under £100/$100, and they can significantly reduce the amount of ambient sound around your microphone. Most attach easily to your mic stand.

Condenser Microphones

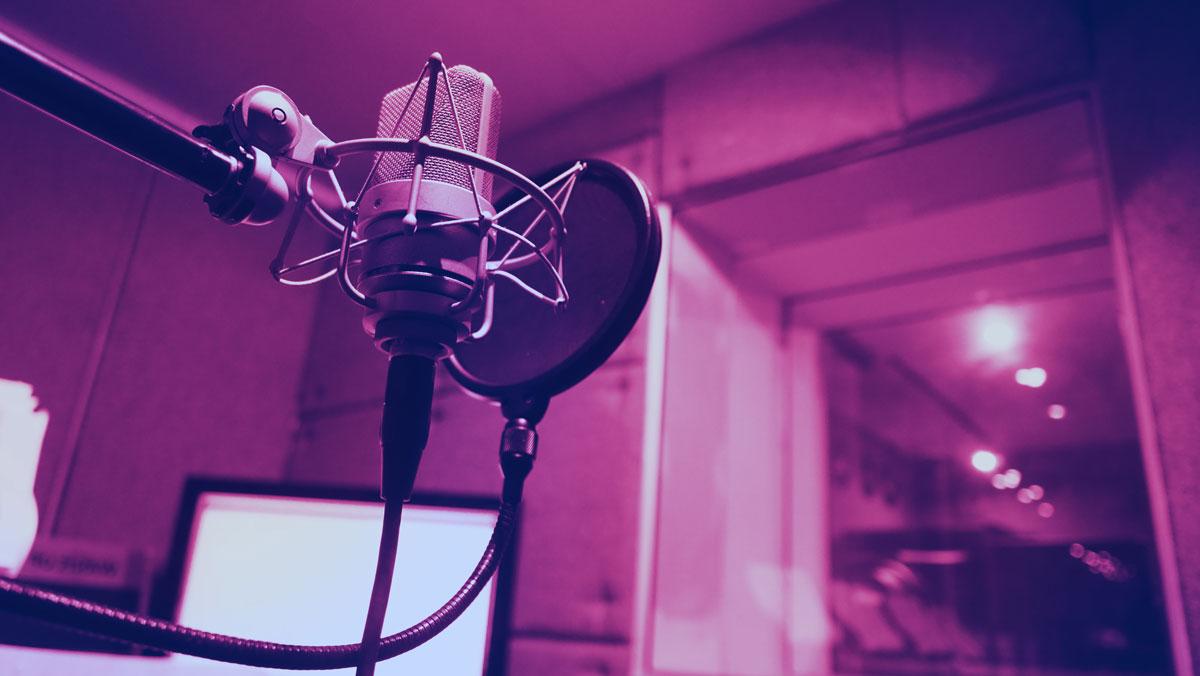
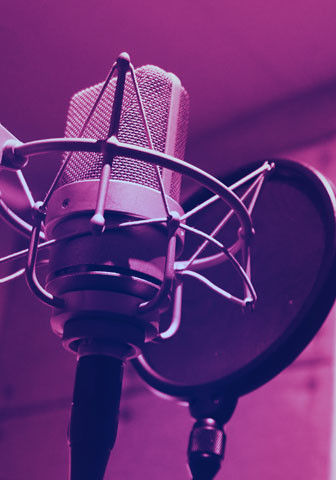
Condenser microphones (also known as capacitor microphones) pick up a wide frequency range and more detail than dynamic microphones. They are ideally suited to recording studio vocals and acoustic instruments.

Traditionally, large-diaphragm condenser microphones dominate the studio vocal market. When compared to small-diaphragm condenser microphones, their sound is more 'coloured', and in most applications, the less neutral sound of a large-diaphragm condenser microphone just happens to compliment vocal recordings.

Every large-diaphragm microphone will shape the tone differently, so the model you choose comes down to personal choice and how it may or may not complement your vocalist's voice.

As you build your microphone collection, you'll eventually have the luxury of testing multiple mics for your vocal performance until you find one that suits the performer perfectly.

Dynamic Microphones

While condenser microphones undoubtedly dominate professional vocal recording, that's not to say dynamic microphones don't have their place.

In fact, many huge records feature lead vocal tracks that were recorded using a dynamic microphone. The restricted frequency response and natural dynamic compression of a dynamic mic can benefit certain voices and styles, so it's worth experimenting.

Even better, if your home studio acoustics aren't quite up to scratch, a dynamic mic will pick up less room ambience and naturally help mitigate the problem.

Ribbon Microphones

Very expensive, but often delicate ribbon microphones were once the industry standard before they fell out of favour to more robust modern condenser mics.

Their operating principle is similar to moving-coil dynamic mics. But instead of attaching a diaphragm to a moving coil that vibrates within a magnetic field, ribbon mics feature a thin strip of metal (often aluminium) suspended in a magnetic field.

The ribbon acts as both the diaphragm and the transducer element to produce an electrical signal. Ribbon microphones have a wider frequency response and greater sensitivity than a regular dynamic mic. Their performance is perhaps closer to what you'd expect from a condenser mic, but with its own distinctive character.

Ribbon microphones are famed for their smooth, silky top-end, and can help produce a richer sound when compared with a studio condenser microphone. Depending on the style of music and the performer, this could be to your advantage.

Understanding Polar Patterns


After settling on a microphone type, you need to understand how the microphone behaves directionally.

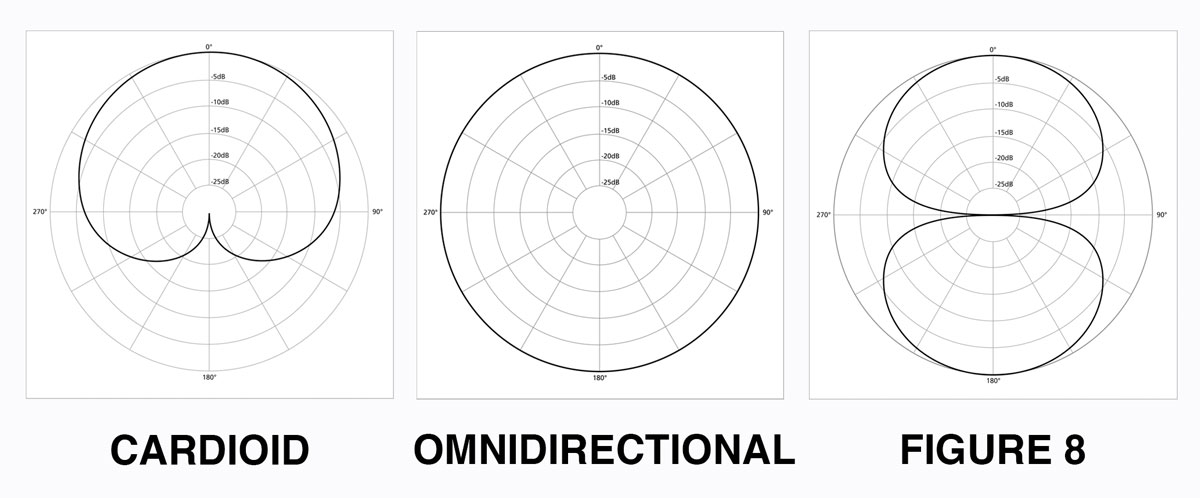
The polar pattern (or directionality of your microphone) determines the sensitivity of a mic to sound arriving from different directions.

For the purpose of this article, we'll focus on the most important polar patterns when concerning how to record vocals at home.

Cardioid Polar Pattern


A microphone configured to a cardioid polar pickup pattern is more sensitive to sound arriving from the front than the back.

You can use this strategically to help reduce unwanted reflections or other sound sources (remember our duvet trick from earlier).

The downside to this is the colouration of sound. An omnidirectional microphone, which we'll get to next, will sound more neutral but will also pick up sound from 360-degrees.

One example of colouration is through the proximity effect, whereby low frequencies become more pronounced as you move closer to a directional mic.

In addition, you will notice small changes in tone if the singer moves off-axis when using a directional cardioid polar pattern.

Omnidirectional Polar Pattern

If you have a great sounding room, or you're very careful with controlling room reflections, an omnidirectional microphone will produce a more natural, open sound without proximity effect and off-axis colouration.

Consistent microphone positioning becomes slightly less critical here, but you will invariably pick up more room ambience.

Many condenser mics are switchable between cardioid and omni pickup patterns, so it's worth switching between each to see how they sound with your performer and room.

You can follow all the guidance on recording under the sun, but it's results that matter. No two vocalists or recording environments are the same. Use your ears, and you be the judge.

Figure-of-Eight

By design, ribbon microphones are figure-of-eight polar pattern microphones, meaning the pickup sound equally from the front and back, but reject sounds from each side.

Figure-of-eight polar patterns are necessary to perform specific stereo microphone techniques, such as the mid/side method (a topic for another day). In the context of how to record vocals, they can be useful when attempting to record an acoustic singer-songwriter live if you strategically apply the dead zone.

Microphone Technique and Placement for Recording Vocals

Microphone position and technique is just as important (if not more important) than microphone selection.

If you're operating a cardioid microphone, then anywhere between 10 - 30cm distance from the vocalists is a good place to start. When using an omni mic, you can afford to get a little closer.

Start by placing the microphone diaphragm directly in line with the mouth for the most natural sound. If you notice any harsh sibilance, you can attempt to tame this naturally by lowering the mic just below line-of-sight with the mouth.

Experiment with microphone position and distance until you get a result that compliments your vocalist's style and composition. When using a cardioid mic, listen out for how the proximity effect changes the low-end and the overall tonality of your recording.

Perhaps most importantly, small changes in distance and position can have a drastic impact on tonal quality; try and keep the distance and position constant for the duration of your recording.

I recommend you invest in a good boom microphone stand for the most flexibility of placement and ensure you use a pop filter between the vocalist and the mic.

A pop filter will help capture and control aggressive 'p' and 't' sounds, commonly known as plosives. The gust of air from these sounds can aggressively disturb the mic capsule and quickly ruin your recording.

How to Record Rap Vocals

Different styles of music require specific considerations. Condenser and ribbon mics typically take centre stage for recording rap and hip hop vocals, but there are no strict rules.

Rap and hip hop vocalists have a tendency to cup the microphone during live performance as part of the style and delivery. It's best to avoid this technique as the handling noise and distortion of the mics polar pattern will hinder the recording.

Pop filters, while primarily there to prevent plosives, can also help separate the vocalist from the mic and serve as a distance reference. If all else fails, you can try using a dummy mic for performance purposes, while simultaneously recording with a separate condenser microphone.

How To Record Rock or Metal Vocals

Contrary to the rap status quo, many rock and metal vocals benefit from the pronounced mid-range and SPL (sound pressure level) capabilities of dynamic microphones.

Large-diaphragm dynamic microphones (such as the Shure SM7 or the Electro-voice RE320) offer a broader frequency response than regular live dynamic vocal microphones, and you'd be surprised how many major records use these microphones over a condenser for the lead vocal.

Tracking Your Vocals - Recording to Your DAW

At a very basic level, you can get started with just a USB microphone. Although in our opinion, a separate USB audio interface and microphone are preferable if you can afford the additional cost.

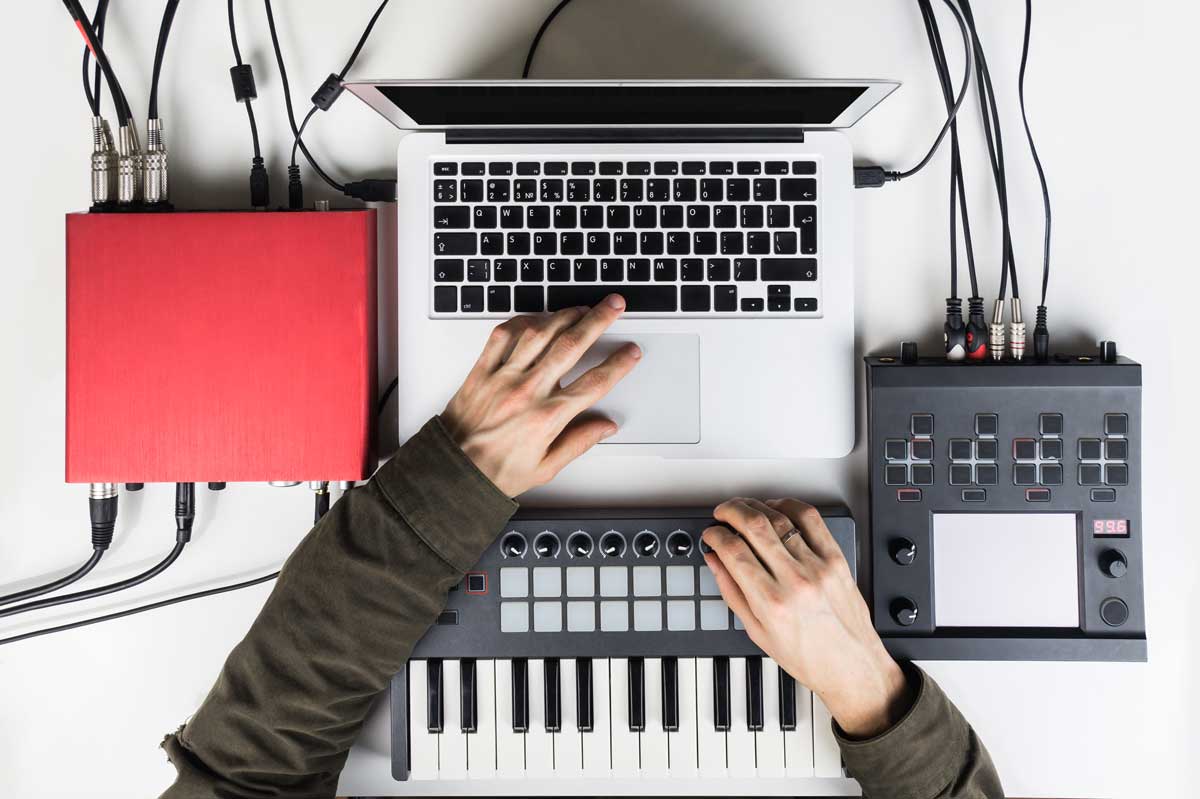
All you need to record vocals at home is a computer with the necessary power for home recording, a USB audio interface with at least one microphone phantom-powered preamp, an XLR-cable, and a microphone.

Choosing the best audio interface is a whole other topic. Like most things in life, you get what you pay for to a degree. However, the options for affordable and professional sounding audio interfaces with great quality preamps are wider than ever.

Almost all of the available USB audio interfaces available today are capable of capturing record quality previously thought unobtainable at home just 20 - 30 years ago.

A high-quality, separate XLR preamp (such as the neat 500-series version of the famous Neve 1073) will invariably improve sound capture further by adding pleasing harmonics and allowing you to adjust impedance and gain for a greater range of microphone and input sources.

Summing Up: Capture the Perfect Take

When all is said and done, a happy and comfortable performer trumps any amount of money thrown at recording gear. That's not to say none of it matters, but all the recording equipment in the world won't make up for poor performance on the day.

Now is the time to make your vocalist comfortable. The happier they are, the more likely they are to deliver their best performance.

Take time in getting the headphone mix just right so they can hear the track and their performance clearly.

Adding a little reverb into the headphone mix at this stage can make a world of difference to a singer's confidence and pitch. Leave the recording dry, of course. Singing in the shower always seems easier; that's the reverb talking.

Lastly, record several takes. Most modern DAW systems allow you to easily compile multiple takes into a single, seamless edit. No one is perfect. Capturing multiple takes only leaves you with more options during the mixing process.

Further Reading: Now that you know how to record a great vocal, check out our feature on the best plugins for vocals and get your mix off on the right foot.