


It’s a divisive topic, but tuning vocals is now a part of the modern recording workflow – especially for certain genres like pop and contemporary hip-hop. It’s even used in live performances.
Whether you’re looking for something extreme or results that are barely noticeable, it’s important to understand the technique of vocal tuning from all angles.
We’ve gone over EQ, compression, and de-essing vocals. In the following article, you’ll learn how to tune vocals and apply pitch correction like a pro.
History of Vocal Tuning
Prior to multi-track recording, if a singer was off it meant the entire song had to be performed again. When multi-track tape machines became available across the next decade, this made things a little easier.
The 70s saw the advent of “comping”, or using different parts from different takes to create a single vocal track. As digital recording started to revolutionize things in the 80s, it was possible to sample a vocal part and pitch correct it with processing, then re-record it to the master.
Everything changed when modern DAWs (Digital Audio Workstations) came into their own and non-destructive editing became de facto. This is also around the time that pitch correction plugins as we understand them today started hitting the market.
We’ve all heard artists like T-Pain, Cher, and Daft Punk popularize Auto-Tune as an effect. But as plugins developed and improved, the results have become more subtle and natural. Particularly as drag-and-drop pitch correction (such as Melodyne) hit the market, it became easier than ever to apply pitch correction sparingly.
Sing it Right!!
Let’s start off with the politically correct disclaimer – the best way to achieve a great vocal is to perform it correctly. The human voice is one of the most, if not the most, expressive instruments. No amount of technology can replace emotion, delivery, and the idiosyncrasies of each individual singer’s voice.
The “3 Ps” of Vocal Tuning
Passion, pitch, and pocket. The “3 Ps” of vocal tuning is a mantra that producers swear by.
Passion is pretty self-explanatory. It’s the element that makes the listener connect with the performance and lyrics. Pitch can be relative, but off is just off. Some genres, like rock, have a little more room for error here (Sex Pistols anyone?). Pocket refers to being in the groove with the song. This covers timing and phrasing.
For further tips on how to capture the perfect vocal recording, check out our full guide on how to record vocals.
Vocal Tuning Step-by-Step
Now we’re getting to the good stuff. Here is a general workflow for the vocal tuning process. Making sure that you have everything set up ahead of time can make the vocal tuning, and mixing process overall, go as smoothly as possible.
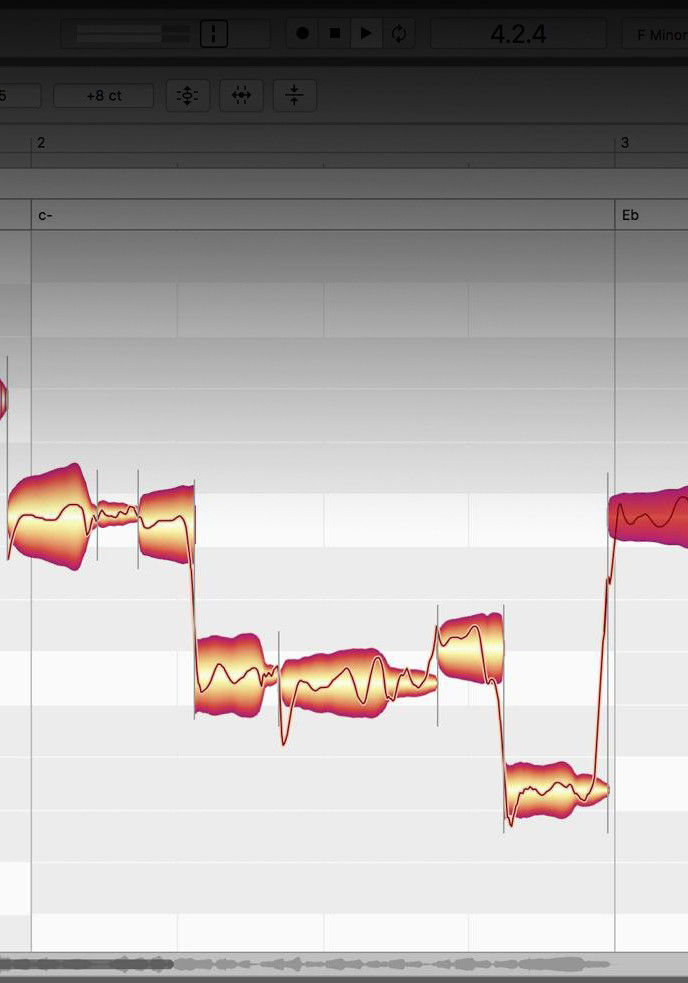
Find the Key
Finding the key to the song is the first and easiest step. Some plugins have features that seek the key for you, but your end results will sound much better if you input the key yourself. Determining if the song is major or minor is also useful.
Having a moderate understanding of music theory is important here so you’ll know what other notes are in the key of the song. It will help you make the right pitch decisions down the line.
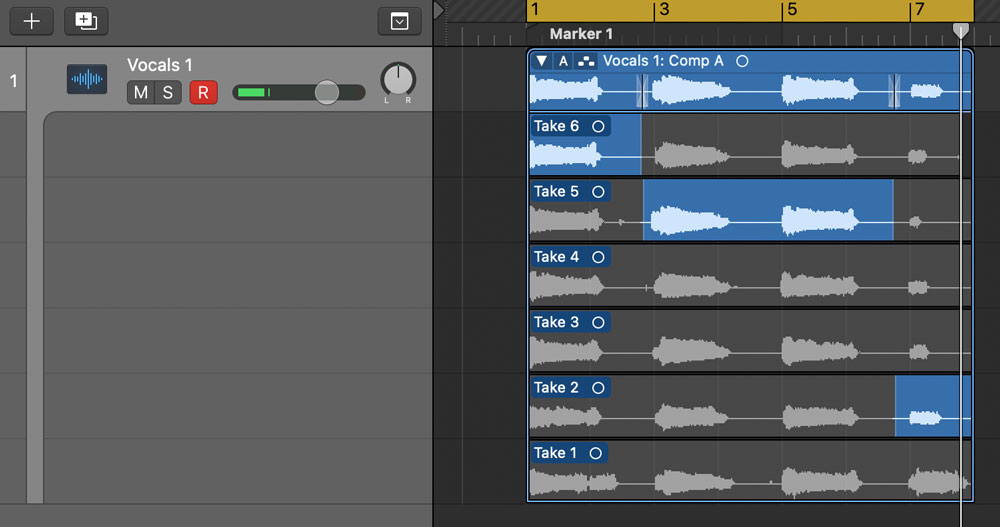
Comp Your Vocal Takes
Before you start adding any end of the line processing like tuning, make sure you have your vocal track(s) edited and compiled. Once you have the best take compiled, you’ll know which parts might need some further attention when it comes to processing.