Subscribe
Home Recording

10 Reverb Tips for Vocals - Ten Pro Tricks You Need to Try

Vocals are the most important instrument in your song and should be treated with the utmost care, attention, and respect.

Get the reverb right, and it will give your overall recording and each individual track a sense of position and space. Get it wrong, on the other hand, and you can quickly lose all focus in a mix.

To help you get on the fast track to vocal recording success, we've compiled our top tips for adding reverb to vocals.

Although the purpose of this guide is to help you get better results faster, I must also point out a couple of things:

Firstly, if it sounds good, it is good. If at any time you stumble across something that works for your track, save it, save the presets and save the template, it could be something you want to use again. Not only that, you could be on your way to a signature sound.

And second: There is no right and wrong when it comes to music production, only that which sounds good and that which doesn't!


Always put your reverb on a separate channel

This will give you infinitely more control over the reverb and allows you to utilise many of the tricks listed below. For example, adding separate EQ to the reverb along with saturation on side chain processing.

Remember to set your reverb to 100% wet; this allows you to blend in just the right amount of reverb and eradicates any phasing issues caused by adding back the original vocal signal.


Adjusting Pre Delay.

Playing with the Pre-delay time allows you to preserve more of the dry vocal before the reverb becomes audible. This helps keep the vocal more pronounced in its upfront perception and can help to place the vocal in front of the space.

Adjusting pre-delay in this way tends to sound better when using the same or similar reverbs to that employed on other instruments. It's also a useful trick when used in conjunction with a number of others.


Matching BPM with the pre-delay and tail length.

Matching with the BMP of your track entails using the sync button on a delay to convert the BPM to milliseconds. For example, the Waves H Delay is perfect for this, and it will tell you that the interval between beats at 120bpm is 500ms.

You're looking for a delay with a tail that ends just as the next phase or line of your vocal is delivered. That way, the vocal isn't clouded by previously generated vocal reverb.

Using the 120bpm example above, the gap between vocal lines may be four beats; therefore, your maximum reverb tail will be 2 seconds.

Likewise, to keep the reverb correct, you can also time up the pre-delay to a quarter (125ms) or an eighth of a beat (63ms), depending on which sounds best.


Using two different mono reverbs, one panned left and one right

This is another clever little trick that helps to preserve the integrity of the original vocal.

The idea is that neither reverb takes the centre position. Therefore, neither adversely affects the centre perception of distance. Depending on how you set up your different reverbs, they can create the illusion of movement behind the vocal, like bouncing off a wall that's on one side of the vocalist and then into a much larger space on the other.

This particular trick is a huge amount of fun, and you can create some really unusual effects while keeping your original vocal front and centre.

Careful use of the pre-delay here will help create the illusion of reflections moving from one side of the stereo image to the other. Like many of the tricks here, you can't consider this anything other than a fake or hybrid reverb, but that doesn't make them any less valid or exciting.


Using the early reflections of one Reverb/Delay and the Reverb tail of another

Try this hybrid reverb technique to craft your own unique sound.

Not many reverb plugins have independent control of the early reflections, but you can create a hybrid effect using a Delay and a Reverb.

A great delay for this is SSL's X delay, in which you can set up a number of different short delay times and then feed the output via another aux to a separate reverb unit. More about expanding on this idea later!

The aim is to create space between the original vocal and the reverb; that way, you keep the upfront sound of the original take.


EQ'ing your Reverb

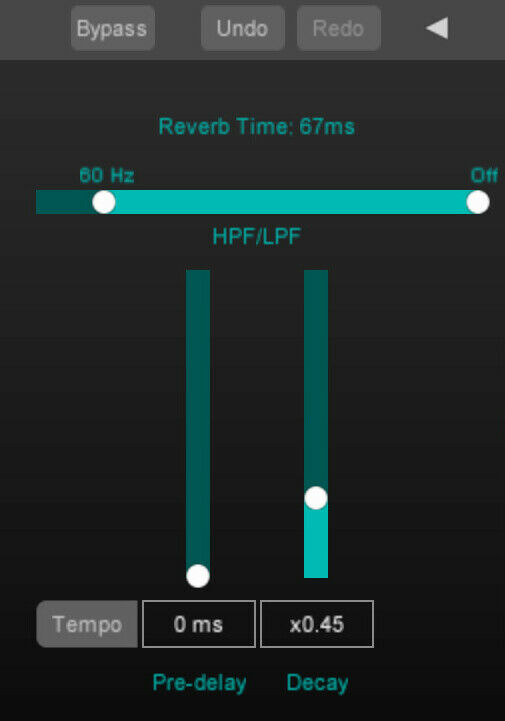
An established technique you can try, which is often referred to as the 'Abbey Road' reverb trick, is to narrow the frequency range of your reverb with high and low pass filters.

It's a trick that live sound engineers have been using for some time as it helps to control a reverb and keep it focused within and behind the vocal range rather than letting acoustic conditions of the environment or reverb type take over.

The same is true for recording where you're looking for a big stadium-style rock sound but still want every word to be in the listener's face.

You also have the flexibility to 'clean up' midrange frequencies which could make your reverb adversely sit up depending on the type of reverb used.

Halls and chambers tend to have issues in the lower mid frequencies, while room and plate reverb issues tend to be more in the mid to high frequencies. Just remember this trick works on many different instruments as well as vocals.


Adding effects to your reverb

There are two ways to do this:

You could set up a duplicate vocal channel and add effects like compression, saturation or modulation directly to the channel, then buss it to your reverb.

Or, you can set up a reverb buss and add the additional effects, compression being the most common, then send it the original vocal.

You will be surprised at how effective a messed up reverb can be when all the time you've been focusing on which type of plate to use, Abbey Road or EMT 140!

Again there are no set patterns, no rules, and essentially no limits to the amount of messing about you can do. In many ways, this is how particular mix engineers achieve that "secret sauce" that elevates a mix from great to outstanding. These are often the little secrets that define their sound and often the little tricks they are less likely to divulge!


Side-chain processing

Side-chain processing can be a very powerful tool when applying reverb to vocals.

For example, you could take the original uncompressed vocal take and use it to compress or even duck a buss reverb, giving it the illusion of the original dynamic performance. Or perhaps you could consider a pitch-shifted parallel vocal track used solely to generate the reverb.

Again the only thing that limits your creativity here is you. The majority of DAW stock plugins now have side-chain options, so there's no limit to the number of experimental possibilities.


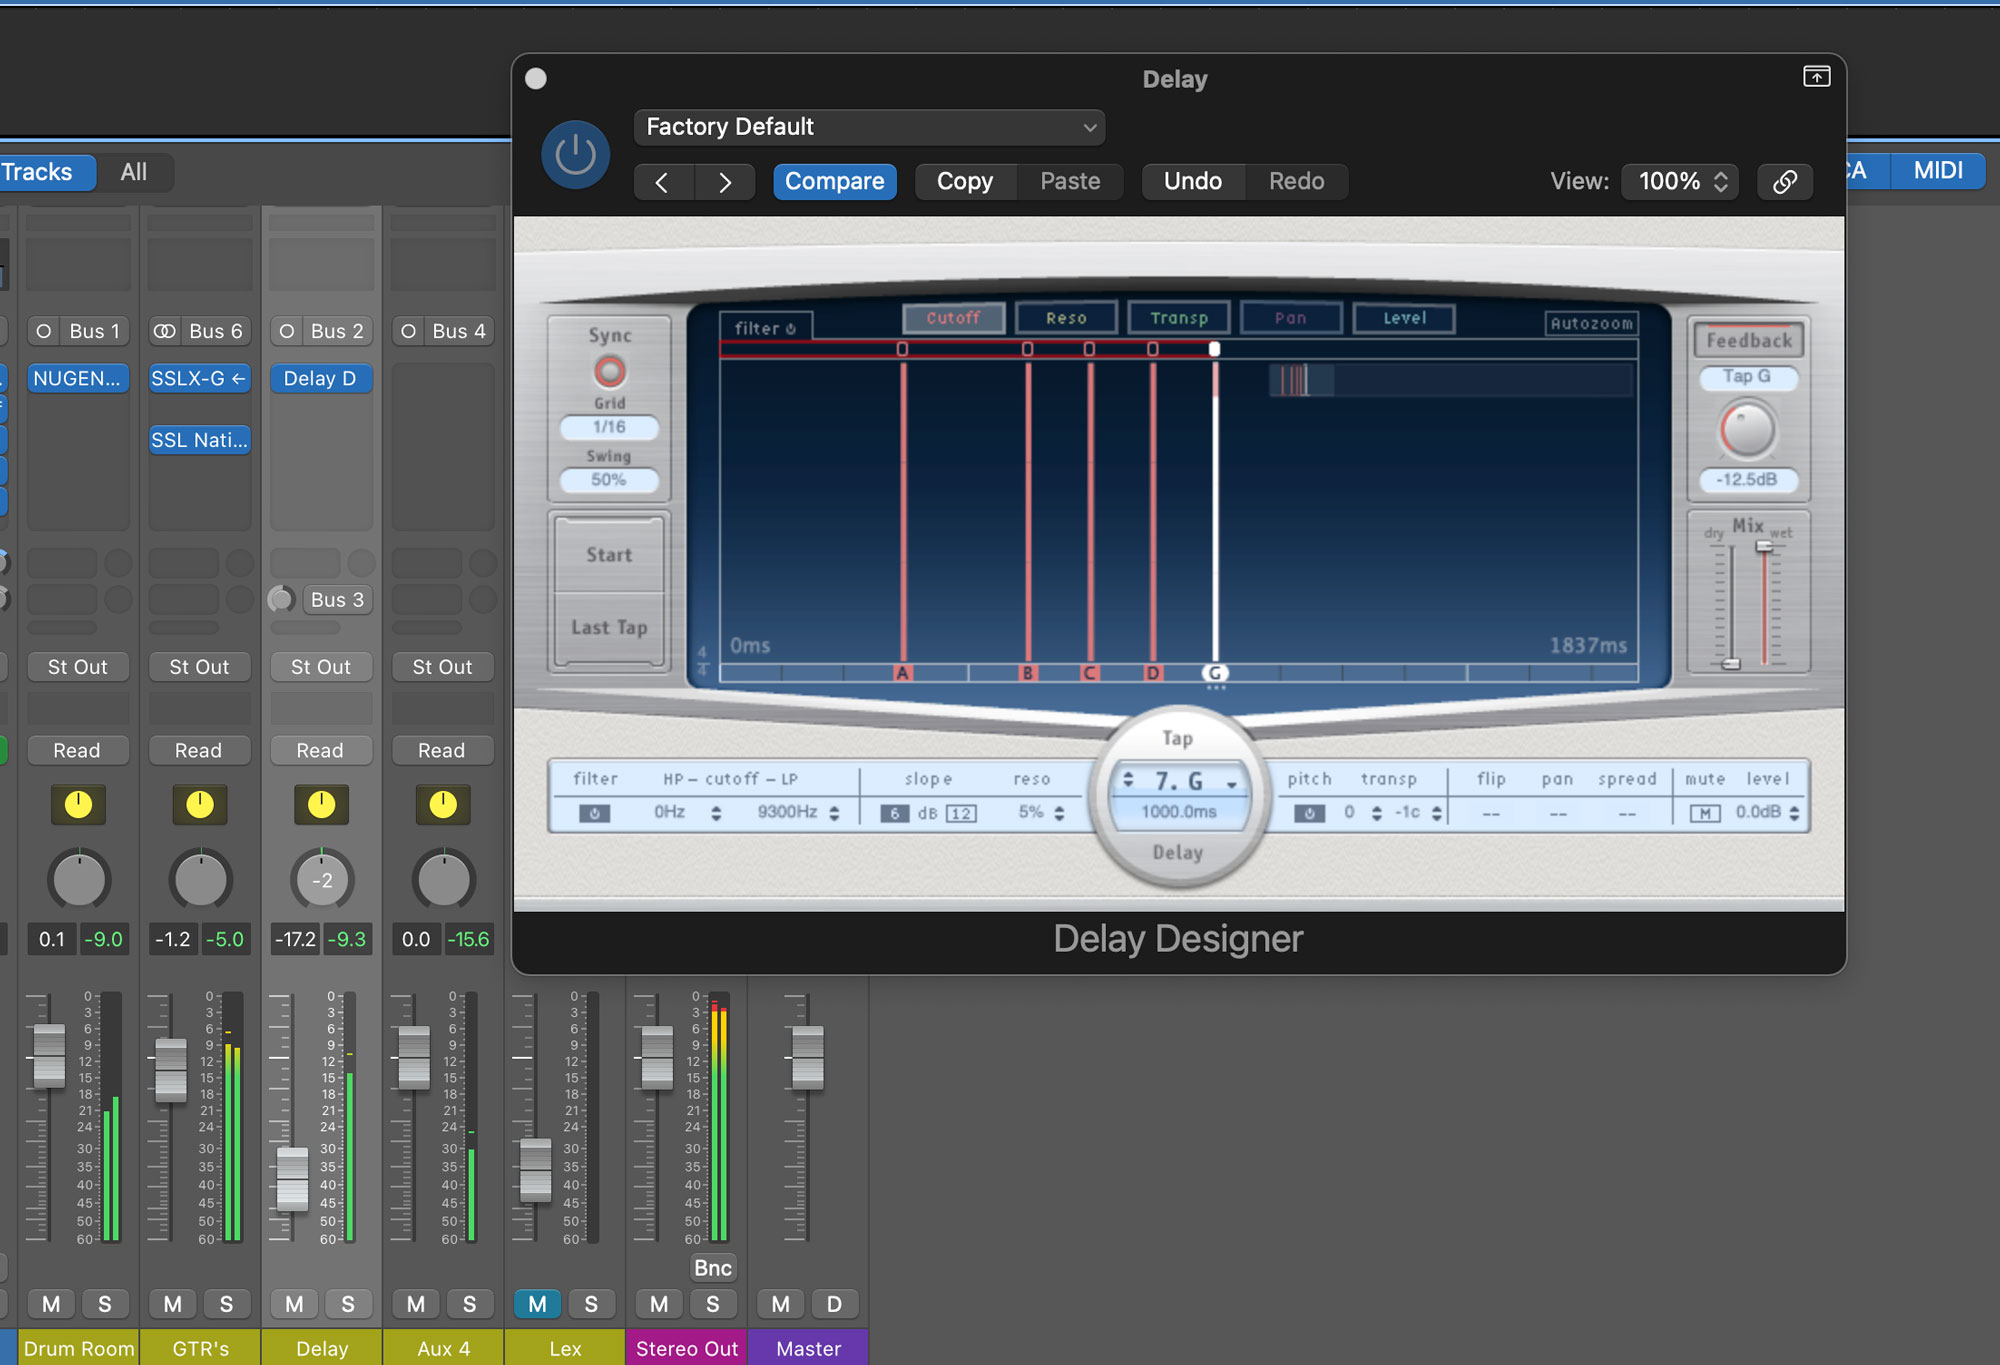
Consider Delay Instead of Reverb

Sometimes just a little delay is all you need to create a sense of size and space while keeping the vocal very much forward and focused.

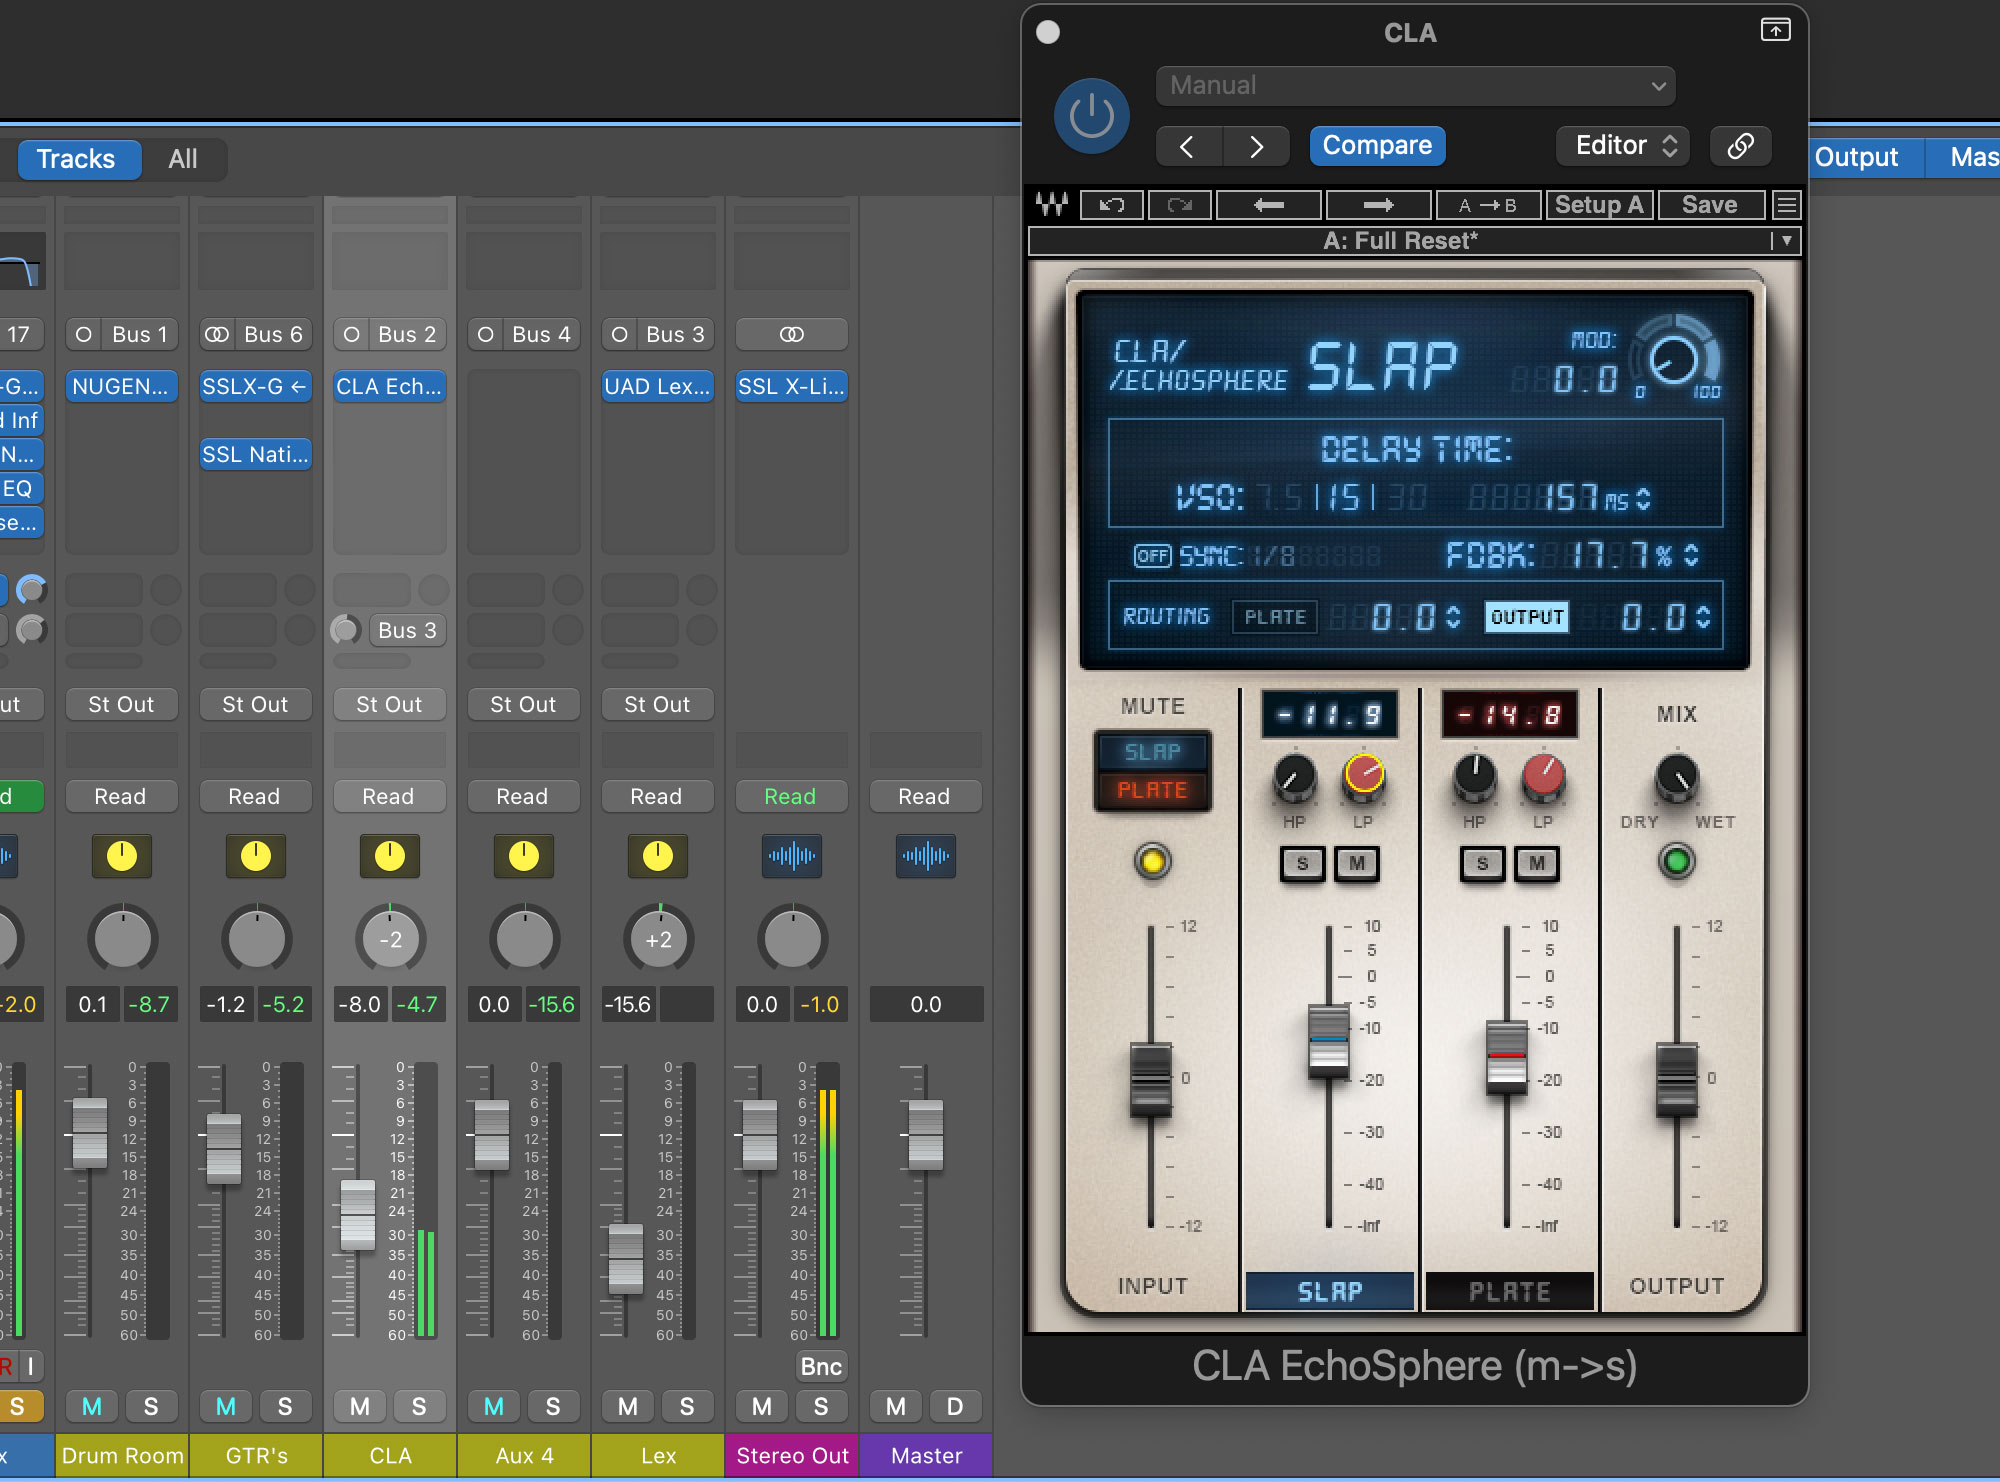
Slapback delay is a great example. It was first heard on early rock'n'roll and rockabilly records, and was originally thought to be the result of two tape machines recording the same take and then being played back slightly out of sync.

The effect is still in use today and works well in conjunction with other effects, such as modulation, pitch shifting, and saturation, to name a few.

Slapback (with or without additional effects) is perfect for creating a double-tracked vocal effect. Adding the latter will also help to fatten up an original vocal track.

You can't beat a liberal use of echo and delay when it comes to big vocal sounds and harmony parts. There's a wealth of plugins available now for emulating all manner of echos from tape echo to analogue and digital delay units.

Nearly every DAW has plugins for various types of delay but for that authentic vintage vibe, check out Universal Audios or Waves' excellent range of vintage-inspired plugins.


Combining Delays and Reverbs

The use of multiple reverbs and delays is now more commonplace in professional production and mixing than ever before.

For those larger-than-life sounds, just check out plugins like the CLA Epic from Waves. This all-encompassing sub $40 plugin has four delays and four reverbs, all of varying flavours, which you can use to build epic-sounding spaces and effects.

Not only can you route channels to the reverbs, but you can also route the delays to the reverb, which touches on one or two of the tricks we discussed earlier.

Naturally, though, don't be afraid to try out all the free effects with your DAW. Many of these stock plugins are excellent, so whether you're a Pro Tools, Logic, Cubase or Reaper user, there's something there that'll give you the professional results you're seeking. Keep experimenting, no matter how wacky your idea may sound!

Just remember, all those eureka moments in music production originally happened when someone tried something out of the ordinary; how else would someone stumble across gated reverb, for example? Ultimately we are conveying a vibe or an emotion, and that is our mission. Good luck with your eureka moment.

Further Reading: 

The Best Plugins for Vocals

How to Compress Vocals