Subscribe
Home Recording

Home Recording Tips and Tricks – Capture a Pro Sound Regardless of Budget

You don't have to own a professional recording studio in our digital age to achieve pro-quality recordings.

In fact, many commercially released records started out as bedroom productions.

Just take David Gray's hit record, White Ladder, for example. The entire album was recorded in a London apartment before the legendary American singer-songwriter Dave Mathews helped launch Gray into stardom via his ATO Records label.

The trick is to work with your environment, adapt accordingly, and build a basic understanding of just a few fundamental audio principles.

To help you get started on the road to success, we've compiled our top 10 tips for home recording that will instantly improve the sound of your productions, no matter where you record. From recording drums to recording electric guitars, and everything in between, we've got you covered.

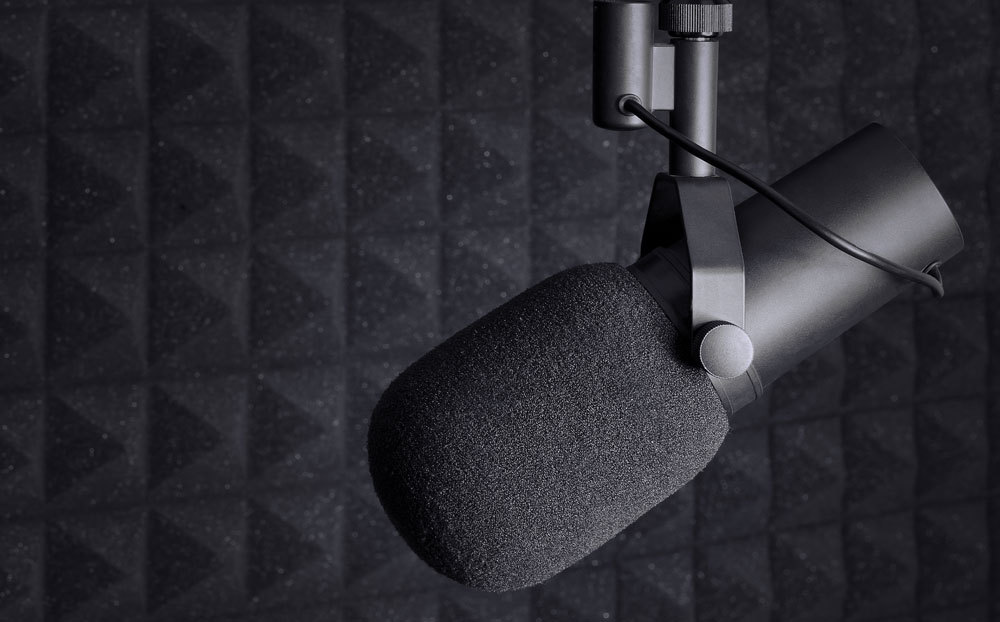
1: Consider Swapping Your Posh Studio Condenser Mic for a Dynamic Alternative.

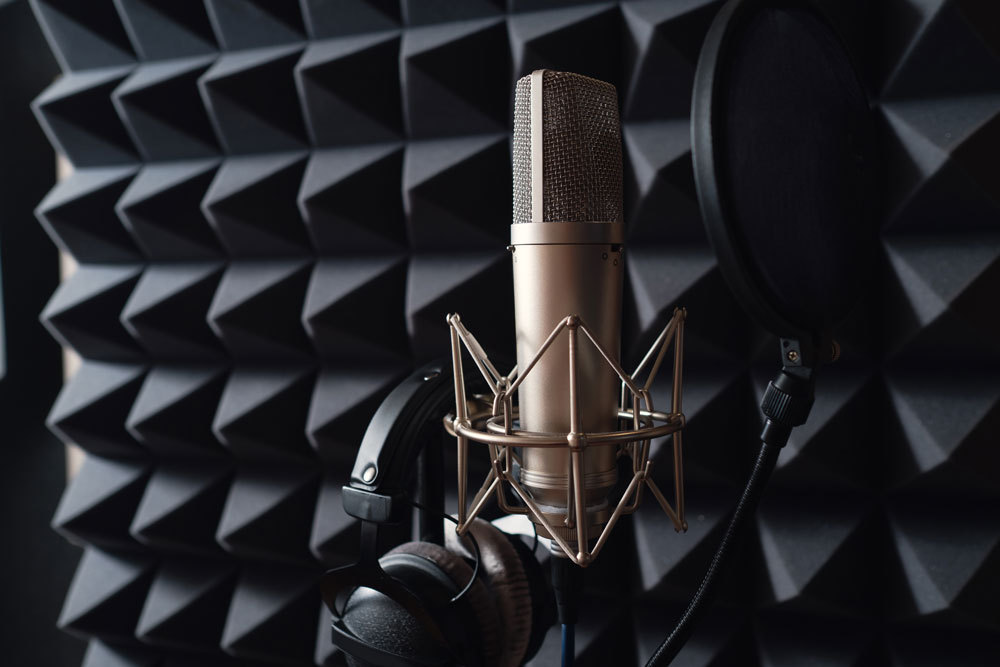
While it's true that a condenser microphone can offer wider frequency response, detail, and sensitivity, these very same qualities can completely ruin your production if the acoustic environment isn't up to scratch.

You might capture a lovely, crisp, and detailed recording with a condenser microphone, but you'll also potentially pick up more room reflections, the traffic noise from outside, and even the dog barking next door.

Suppose acoustic treatment of your studio space is out of the question, or you live in a noisy neighbourhood. In that case, you might find using a less sensitive dynamic mic delivers a more manageable recording that will sit well in a mix.

A large-diaphragm dynamic will extend the frequency response somewhat and help you achieve great vocal recordings. In some cases, the vocal you're recording may actually better suit a dynamic mic.

Let's take a heavy rock or metal vocalist for example, or perhaps a rhythmic rap vocal. Both of these styles can benefit from the restrictions of a dynamic mic and the slight natural compression.

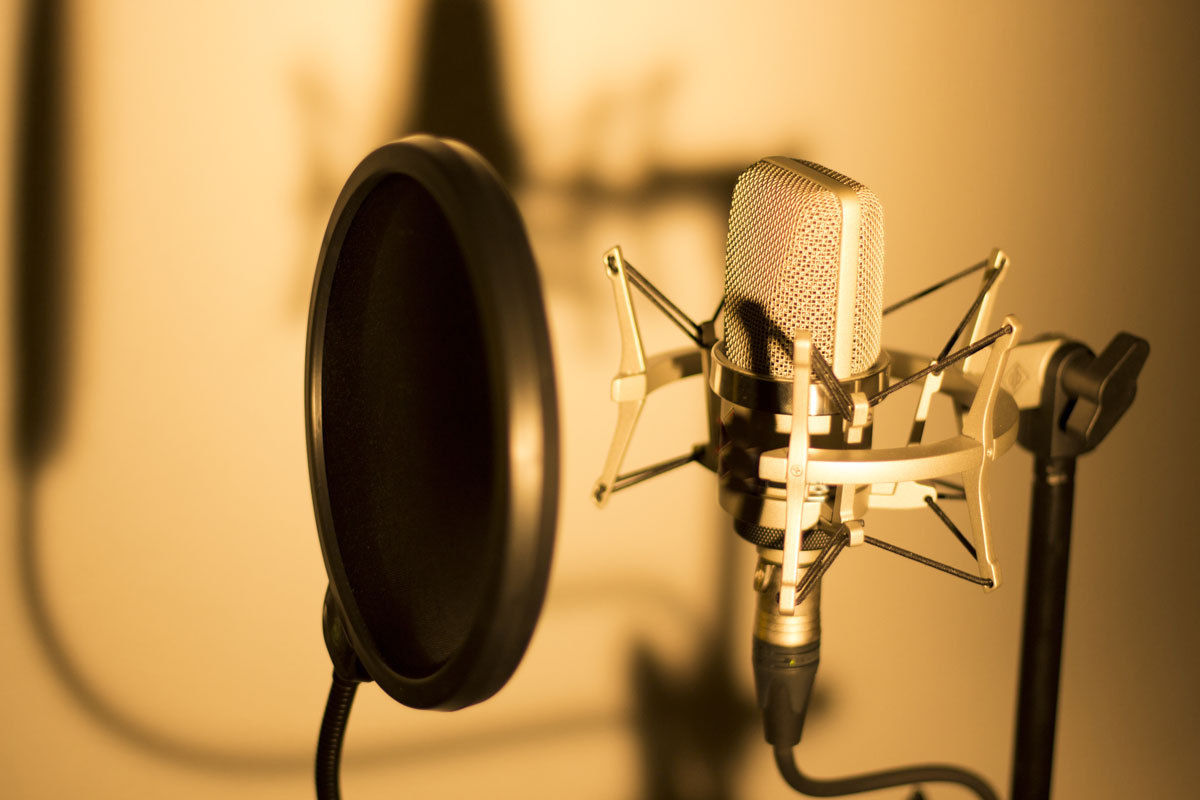
We're used to seeing classic large diaphragm condenser mics like the ubiquitous Neumann u87 dominate studio vocals, but you'd be surprised how many massive albums feature the lead vocal recorded with a dynamic mic.

2: Get The Source Right Before Hitting The Record Button

When inspiration strikes, it's easy to get carried away and rush into the recording process. But it's worth keeping in mind that your final result can only ever be as good as the source you record.

Modern DAW software and fancy plugin suites can elevate a production or mix, but there's little you can do about an out-of-tune guitar or a poorly set up drum kit.

Try to avoid having a 'fix it in the mix' approach to your recordings. Strive for the best sound at the source and your mix should be 50% there from the start.

3: Avoid Unnecessary Additional Microphones

Multiple microphones will always exhibit a degree of phase cancellation. Before deciding to use multiple mics on a single source, consider if those microphones are really needed.

For example, when an acoustic guitar is front and centre in the mix, and critical to the composition, it makes sense to use two microphones (one at the body and one on the neck). This will capture a richer, broader sound stage than just a single mic between the neck and the soundhole.

However, if the acoustic guitar is just a rhythm part in a much denser mix, it could be beneficial to do away with potential phase issues and keep things simple.

Check out our full guide for more tips on recording acoustic guitars.

4: Minimise Phase Issues Using The Three-To-One Rule

In cases when multiple microphones are required, a good rule of thumb is to apply the 3:1 rule.

The rule states the distance between two mics should be at least three times the distance between each mic and the sound source.

For example, if mic A is 15cm (roughly 6") from the sound source, mic B should be at least 45 cm (18") away from mic A.

This will minimise phase cancellation issues and avoid a weak, thin-sounding recording.

Use your ears and make small adjustments if you notice the sound becoming thin. We can use the phase inversion function in many DAW packages to flip the phase on one channel and hopefully improve the result if you still notice issues after recording.

If your audio interface or mixer has a phase polarity switch, try flipping it during the tracking process and use your ears to judge which position sounds best.

5: Use DIY Acoustic Treatments When Budget Is A Concern

It might not look pretty, but duvets, blankets, and other soft materials are great for sound absorption and cutting down on those pesky early reflections.

Unless you're blessed with a particularly interesting acoustic space you'd like to make a feature of, you're often better off reducing the reverberation and then applying reverb in your DAW.

Hanging a duvet behind the vocalist (for example) will prevent so many early reflections from getting back into the microphone and colouring up your recording.

6: Always Leave Headroom During Tracking

When tracking, we want a solid, strong signal and a good signal to noise ratio. The good news is, with modern 24 and 32-bit recording, our DAWS can easily capture recordings with plenty of dynamic range and a signal-to-noise ratio.

You don't need to turn the preamp on your interface up near clipping levels. Once a signal clips the preamp, there is no going back and your recording will sound distorted.

A good-practice rule is to keep your preamp level slightly lower than your peak recording volume. In other words, leave some headroom for spikes in volume and dynamics.

7: Avoid Plosives By Changing The Position Of Your Microphone

Pop filters are imperative when recording vocals to control pesky plosives from harsh 'P' and 'T' sounds.

That said, even the best quality pop filter will fail to control the most aggressive plosives, and the wind from these sounds will quickly destroy your recording.

Try positioning the mic slightly under or above the vocalist, or tilting the mic at a slight angle so the diaphragm isn't directly in line of sight with the mouth.

8: Understand The Proximity Effect & Use It Where Appropriate

With directional microphones (cardioid, hypercardioid and supercardioid polar patterns), we experience what's known as the proximity effect.

The proximity effect is a phenomenon that leads to an increase in low-frequency response as you move the mic closer to any given sound source.

This phenomenon can be used to your advantage if you want to fatten up a kick drum or thicken up a vocal take. But it can also be a hindrance when used in the wrong place.

Experiment with moving the mic closer or further away depending on where you need the instrument to sit in your mix.

9: Don't Overuse Correction Tools

Particularly when recording our own music, there's a tendency to become hypercritical of the performance and lean too heavily on timing and pitch correction.

Over-correcting vocal takes or quantising performances too heavily can result in a robotic, soulless recording. In most cases, leaving some of the human feel will result in a more engaging performance.

The trick is to keep these tools in our arsenal, but strive only to use them when something actually sounds wrong. Because modern DAW systems are so visual, we can see each drum stroke, and every note as represented on a timeline. Just because something looks out of time or off-pitch, it doesn't mean it's wrong. This might "feel" correct in context with the overall recording.

The solution is to stop mixing with your eyes. Try closing your eyes and listening to the entire track; if you hear something that bothers you, by all means, correct it, but applying these tools as a matter of standard practice can sometimes strip the life from your music.

Some of this goes out the window when using these sounds for effect, of course. For example, we've all heard autotune pushed to extremes as a desirable effect, and in many musical genres, it's simply part of the sound. In the end, if it sounds good, it is good. Trust your ears, not your eyes.

10: Record As Frequently As You Can And Let It Sit

As a creative, it's important to record as much as you can. Have your kit ready to go when inspiration strikes, and capture those ideas in the moment.

You don't have to produce a finished project every time. Record an idea, let it sit, and come back to it at a later date. You might not have all the answers now, but you'd be surprised how many half-finished ideas might end up being some of your best work a year down the line.

So while this isn't a technical piece of advice, it's all about creativity. If a piece isn't quite coming together, don't force it; park it.